The Complete okdoc Guide: How to Create, Send and Sign Documents with AI — Step by Step
okdoc turns any contract, quote or agreement into a signed — and paid — document. No Word, no printing, no chasing clients. This guide walks you through everything step by step, from the moment you sign up to your first document that gets signed and paid. No technical knowledge needed — just follow the screens.
What you can do with okdoc
- Create a document for signature in three ways: upload an existing PDF, let the AI write it from a single prompt, or build a rich signing page.
- Send it for secure digital signature — one signer or several, with identity verification when you need it.
- Collect payment the moment it's signed (Sign & Pay) — credit card, link, or bank transfer.
- Track who opened, who signed, who paid — and let automations chase reminders for you.
Launch offer: during sign-up, on the billing page, enter the coupon code `LAUNCH30` to get the full plan free for 30 days.
Step 1 — Sign up and log in
1. Go to okdocai.com and click "Start free". 2. Enter your email. You'll receive a 6-digit code — type it in and you're in. (You can also use "Sign in with Google" in one click.) 3. On your first login you'll be asked to fill in your business profile — this matters, because it becomes the letterhead on your documents and also feeds the AI.
Filling in your business profile
Add: business name, legal name, company/VAT number, address, phone, website, and a logo (optional). You can update it any time under Business settings in the side menu.
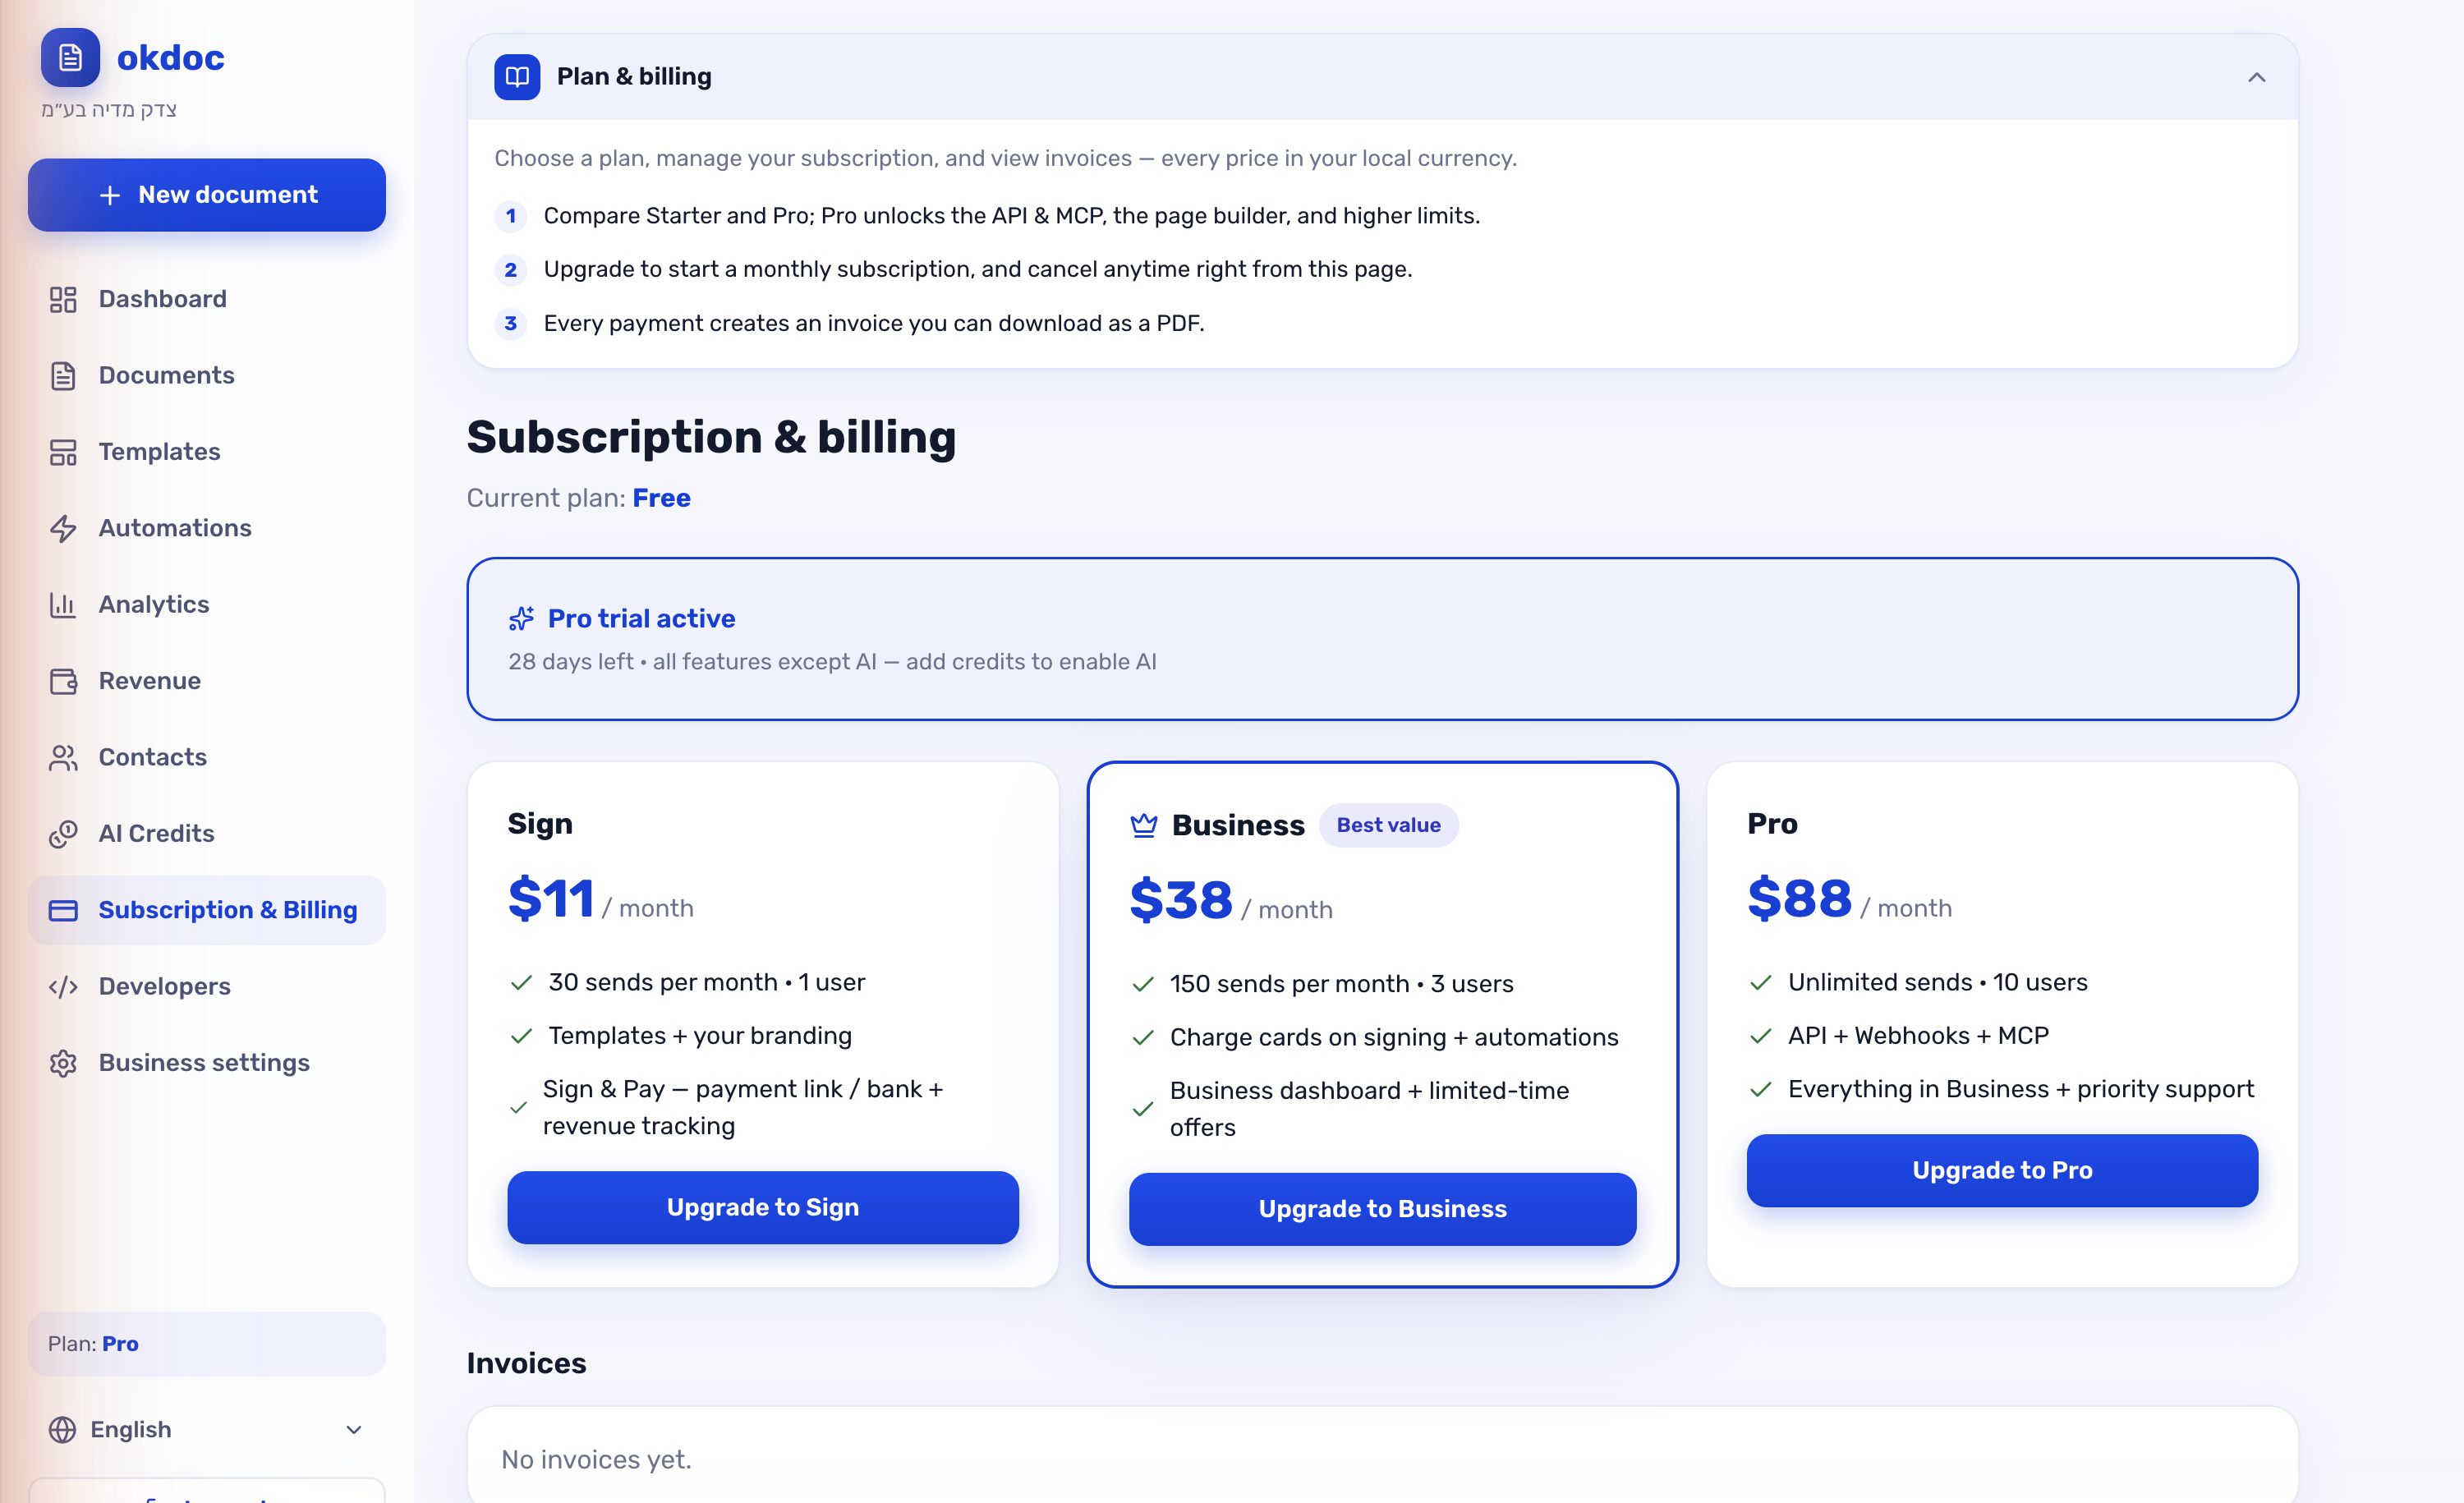
Step 2 — Activate the coupon (30 days free)
1. In the side menu, click "Subscription & Billing". 2. Choose a plan, and in the coupon field enter `LAUNCH30`. 3. Confirm — you now have 30 days free with every feature. No credit card required.
Step 3 — Create your first document
Click "New document" (the blue button at the top of the menu). There are three ways:
Option A — Upload an existing PDF (fastest)
Best when you already have a contract or form ready.
1. Drag your PDF onto the upload area (or click to choose a file). 2. The document opens on screen. Now place the fields: drag a Signature, Date, Name, Email, Stamp or Checkbox field onto the right spots. 3. Put the signature field next to the word "Signature" or the dotted line in the document. 4. Click "Continue to field editing" → then send it (Step 4).
Tip: there's also Auto-mapping (AI) — drop in a PDF and the AI figures out where the signature fields belong and places them for you.

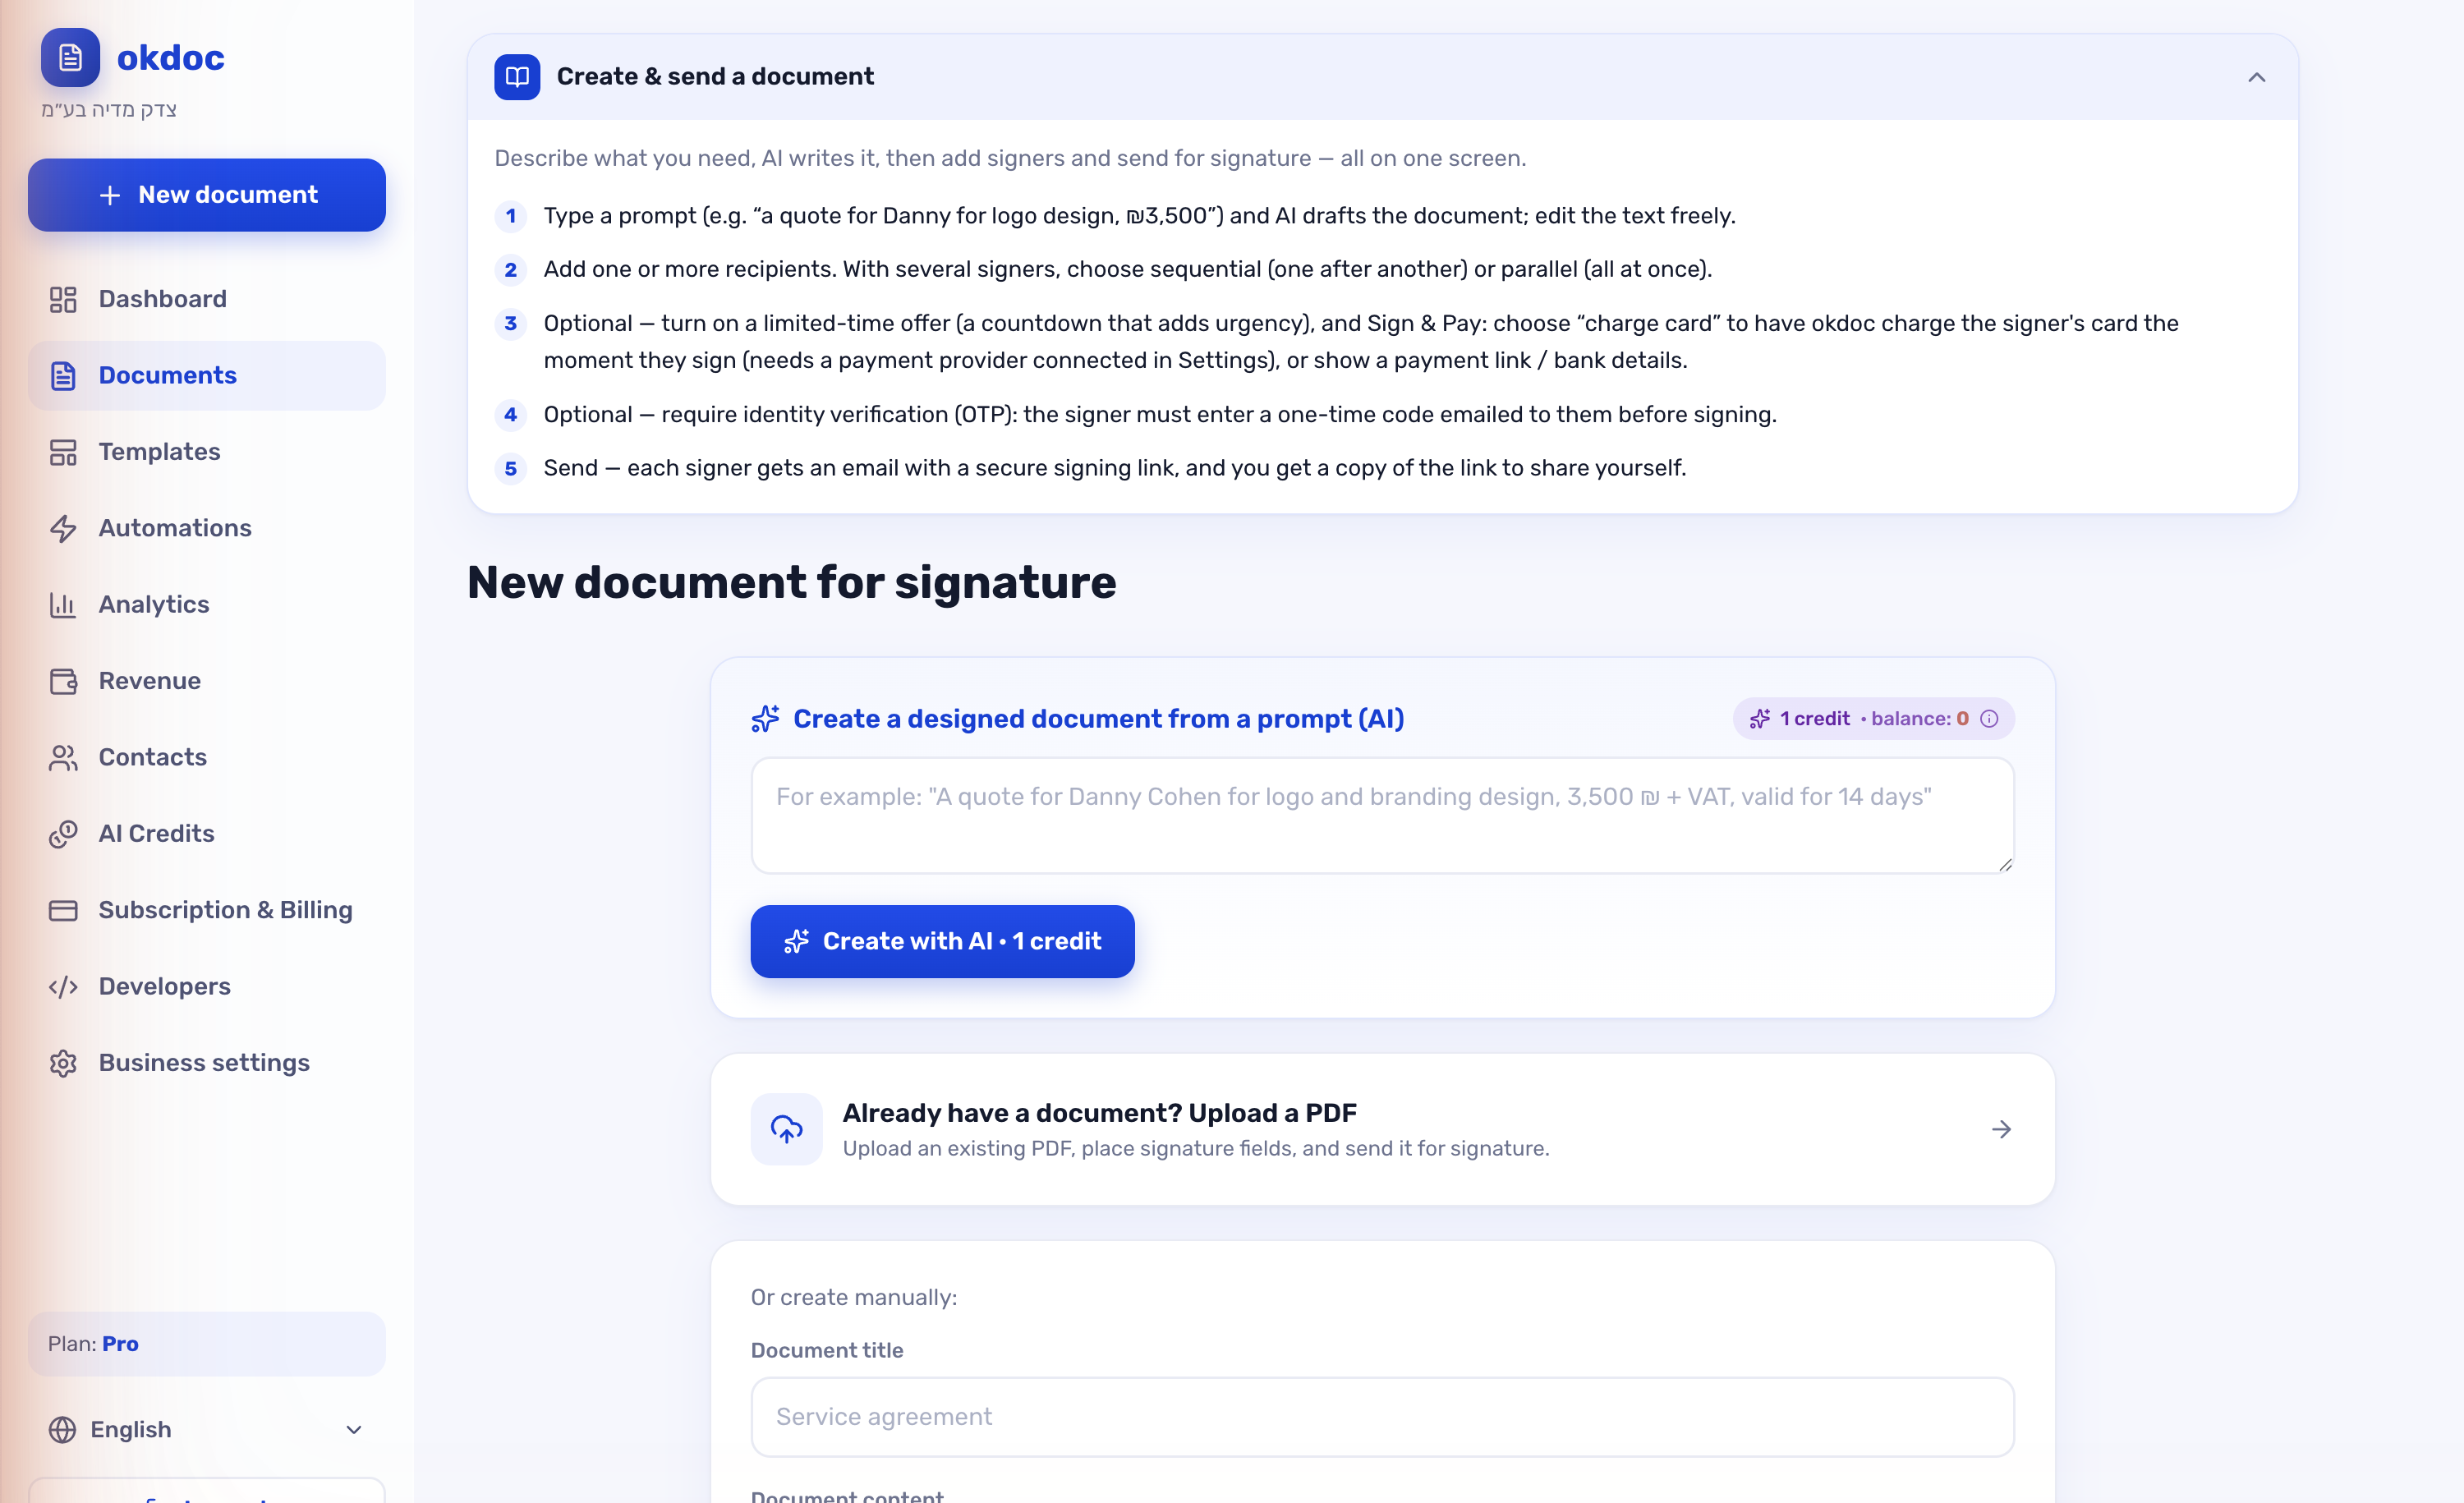
Option B — Generate with AI (from one prompt)
Best when you don't have a document yet and want the AI to write it.
1. Choose "Create with AI". 2. Describe what you want in one sentence, for example: "A $1,500 quote for Acme Inc. for strategy consulting, valid for 14 days". 3. Click "Create with AI" — within seconds you get a full, beautifully designed document: title, intro, sections, a pricing table and terms, all on your business letterhead. 4. Review it, edit if needed, and continue to send.
Option C — Build a rich signing page (Pro)
Best for "wow" proposals — a full landing page with images, video and a pricing table, ending in a signature.
1. Choose "Build a signing page". 2. Add blocks in order: cover, text, image gallery, video, testimonial, pricing table, and a contract block (the part that gets signed). 3. Only the contract block is signed and sealed — the rest is presentation and marketing.
Step 4 — Send for signature
Once the document is ready:
1. Enter the recipient's name and email (the email is sent to them automatically). 2. Multiple signers? Add more recipients and choose sequential (one after another) or parallel (all at once). 3. Want identity verification? Turn on OTP verification — the signer gets a one-time code by email before they can sign. 4. Click Send. The recipient gets an email with a link, opens it, and signs right from the browser (mobile too).
Step 5 — Sign & Pay
One of okdoc's most powerful features: collect payment on the same screen where the document is signed.
1. When creating the document, enable Sign & Pay. 2. Choose a method: - Charge card — the client signs, the card is charged automatically, and the document is marked "paid" (requires a connected payment provider under Settings → Payments). - Link — show an external payment link (Stripe / PayPal / any URL). - Bank transfer — show your account details for payment. 3. Every payment collected appears in the Revenue dashboard.
Step 6 — Limited-time offer (to drive closing)
Want the client to sign fast? Add a limited-time offer:
- Set a label (e.g. "10% discount") and a number of hours it's valid.
- The recipient sees a countdown timer, and okdoc sends reminders automatically.
- When time runs out you can lock the document or just notify.
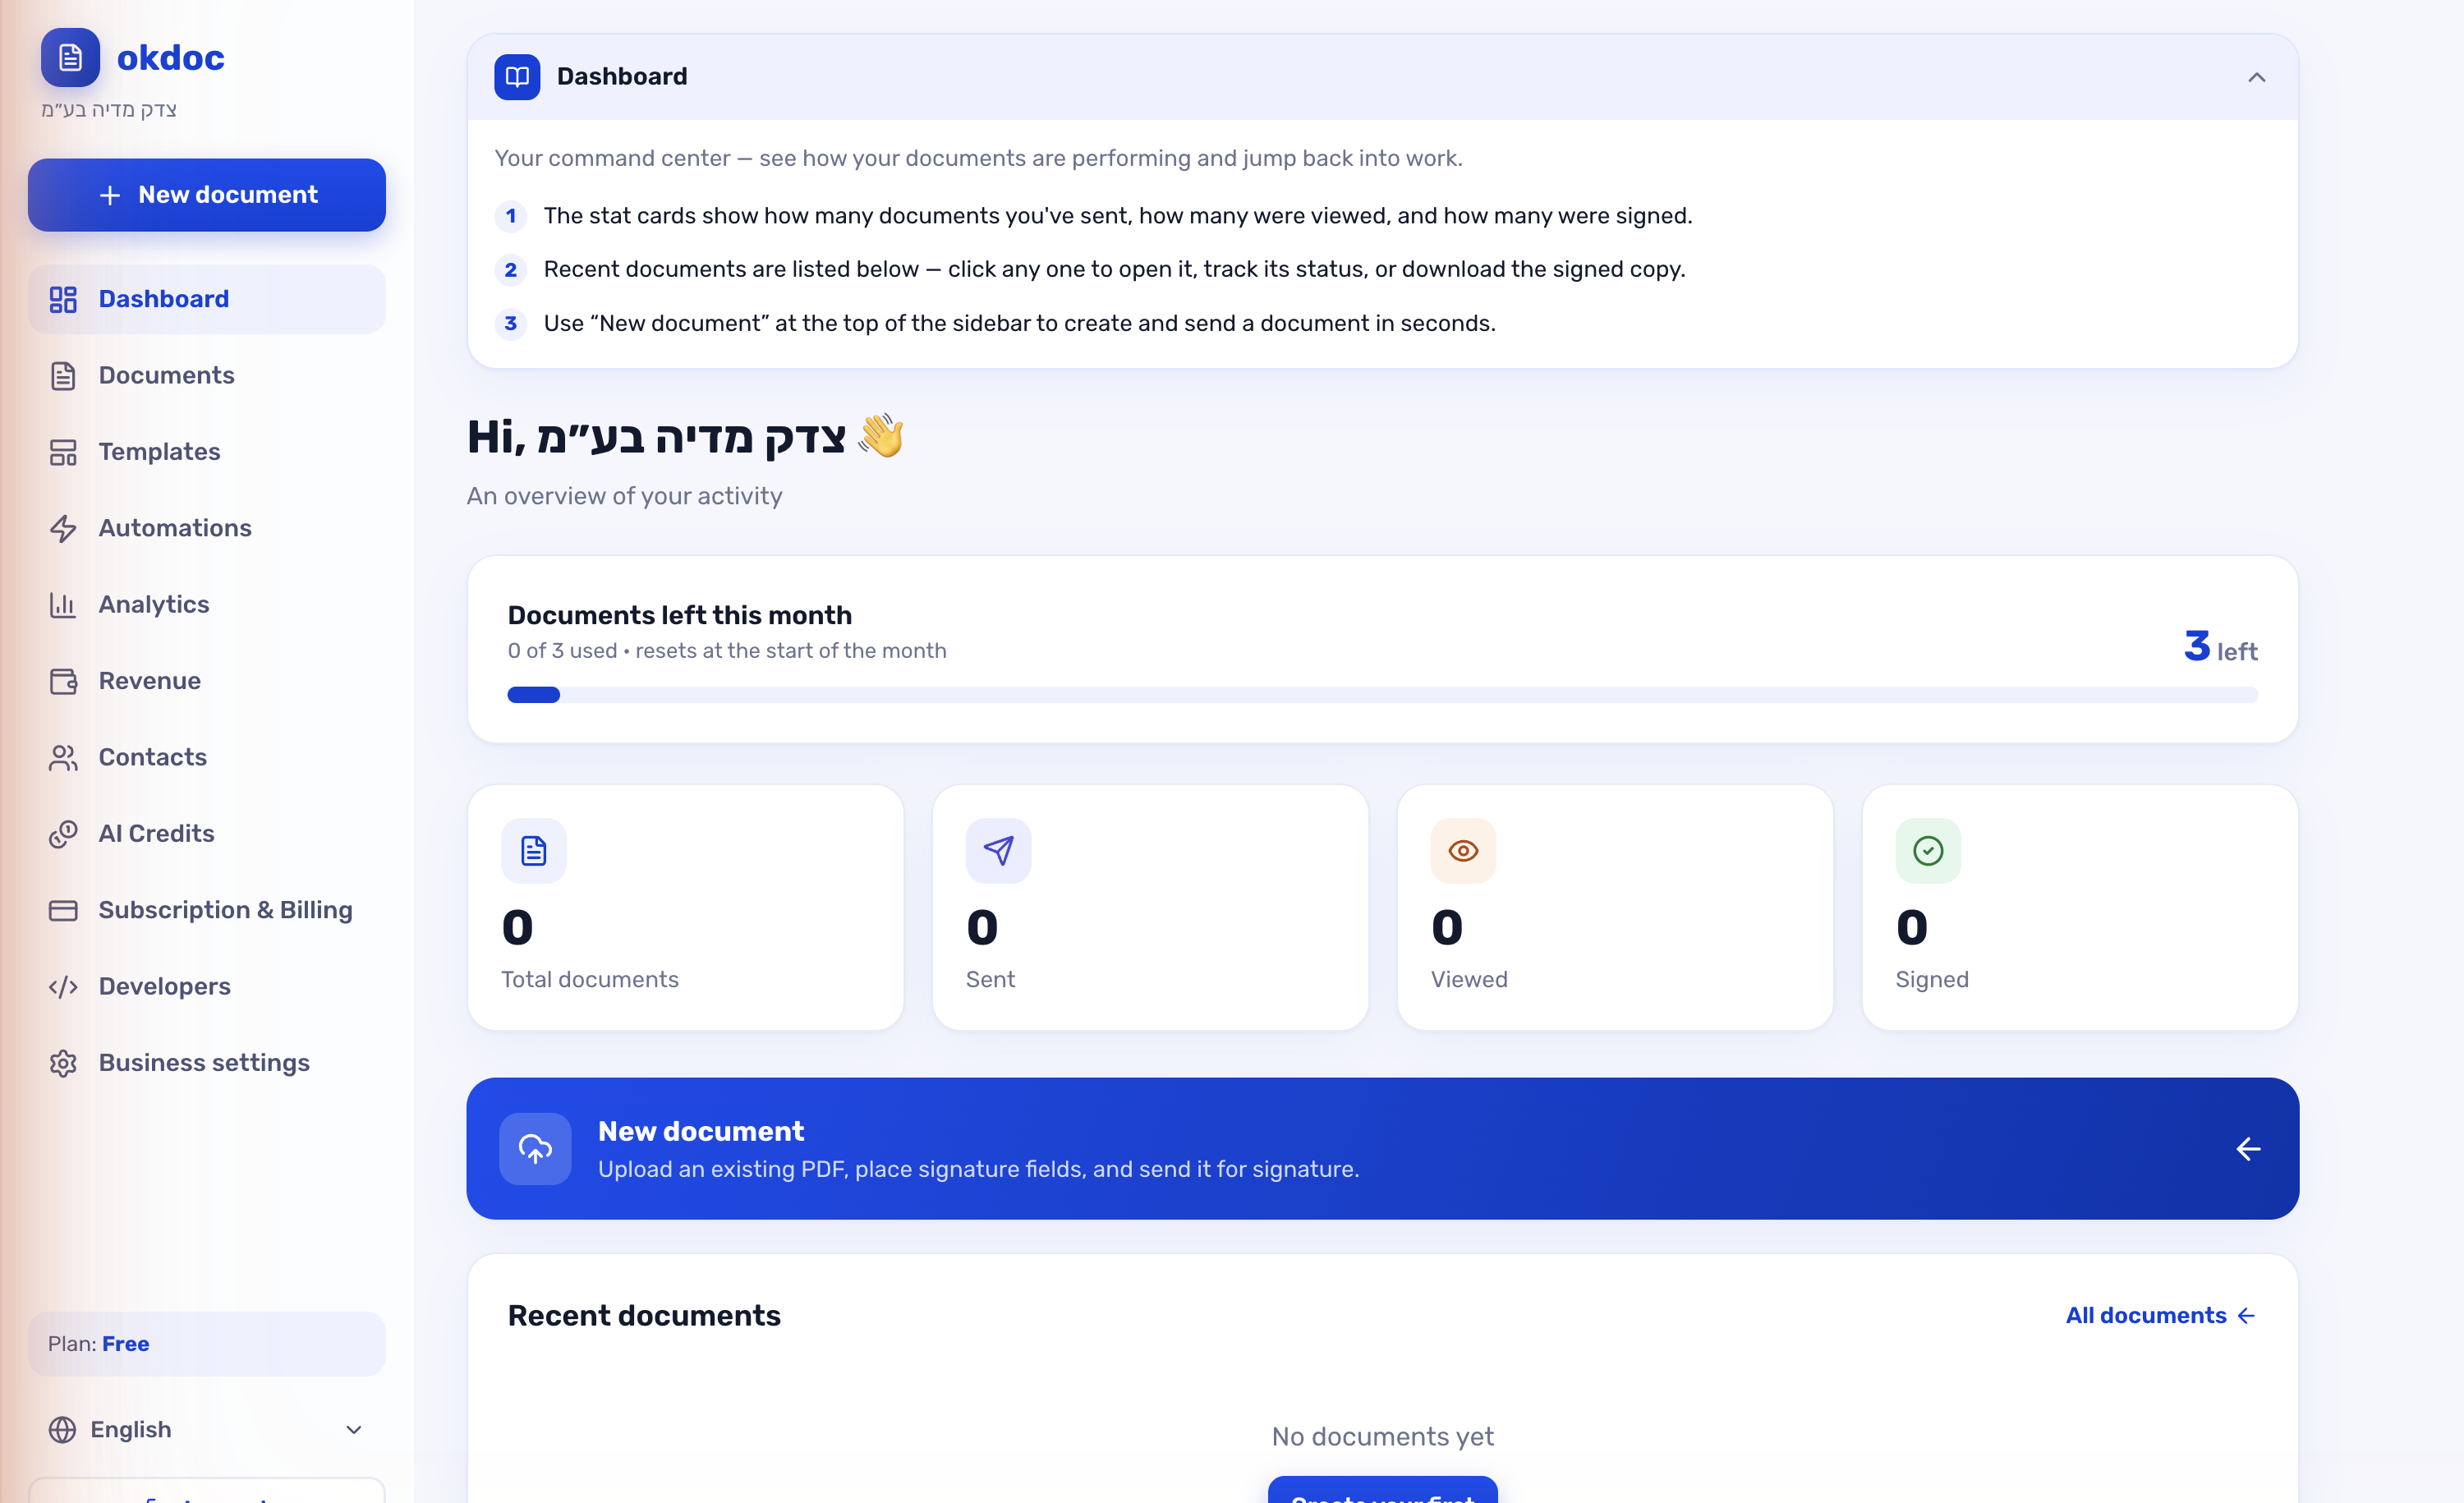
Step 7 — Track your documents
- The Dashboard shows a summary: how many were sent, viewed, signed, and how many you have left this month.
- Documents shows the status of each one: sent · viewed · signed · awaiting payment.
- Analytics shows your signature rate, time-to-sign, and Opportunities — who opened but hasn't signed yet (hot leads to close).
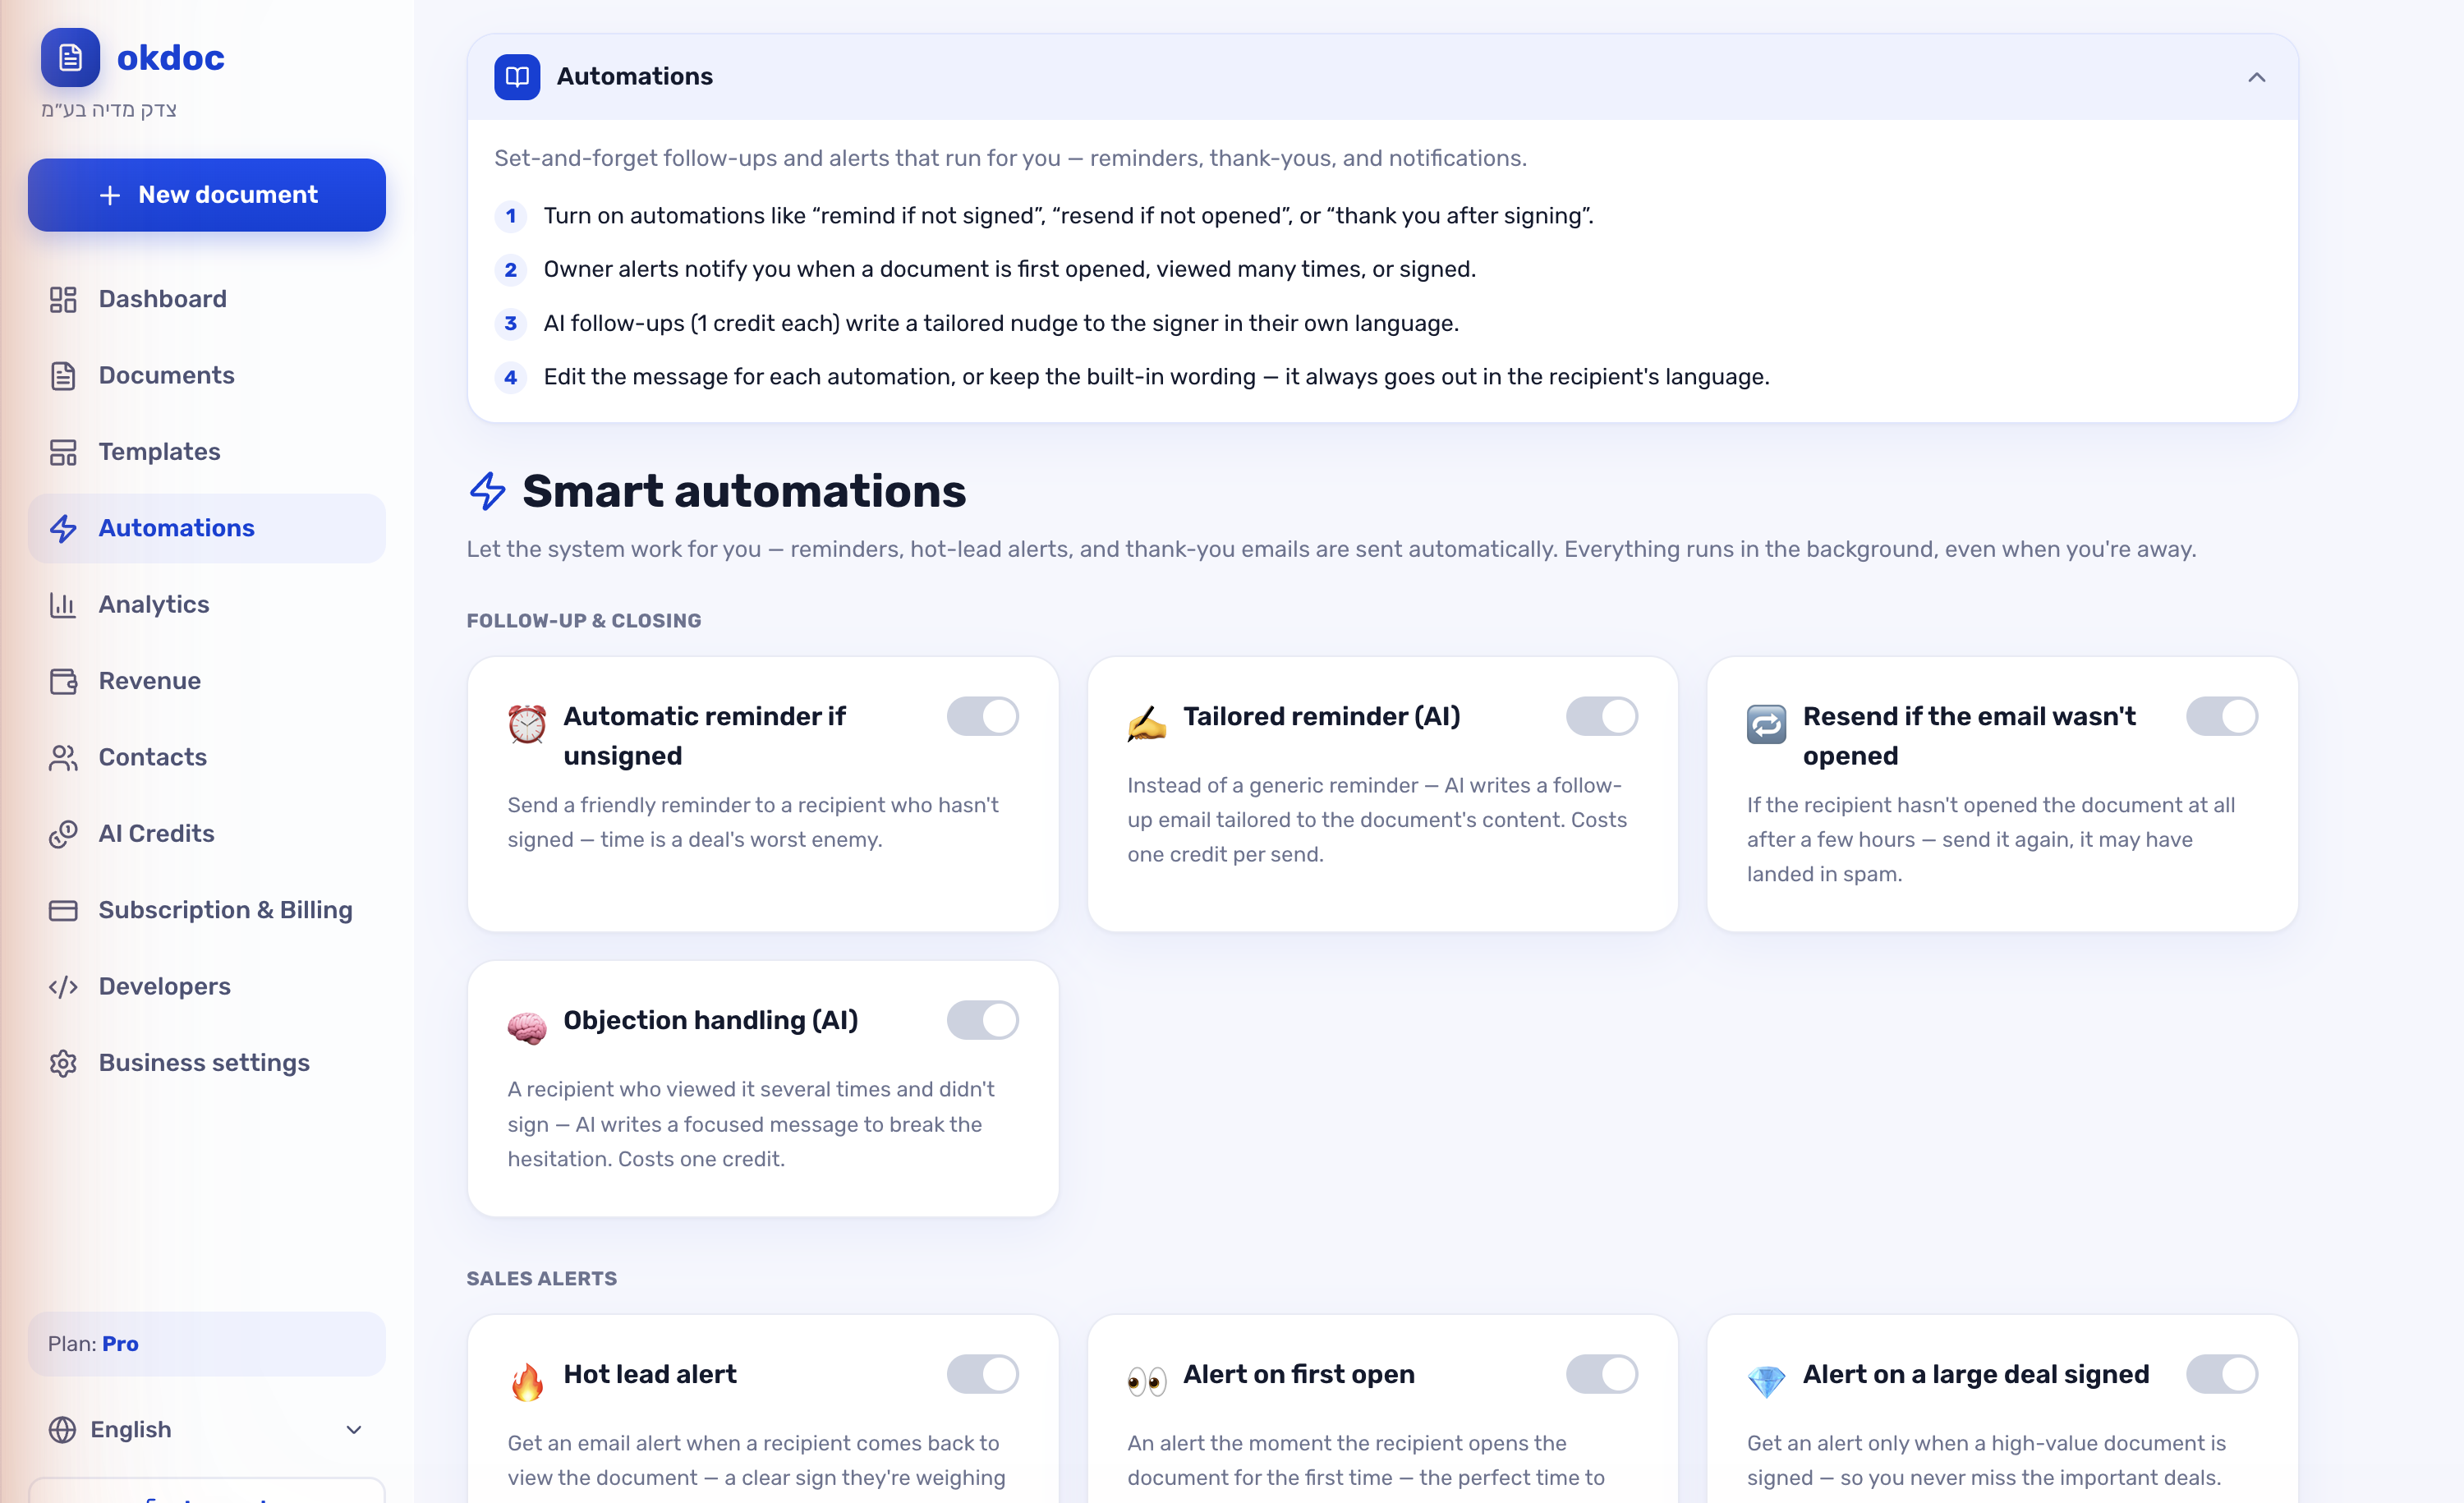
Step 8 — Smart automations (work that runs itself)
In the Automations menu you switch rules on and off with one click. A few examples:
- Reminder if unsigned — automatically remind after X hours.
- Payment reminder — if signed but not paid.
- Hot-lead alert — if someone opened the document several times without signing.
- Auto thank-you + send the signed copy after signing.
Some reminders are even written by AI and tailored to each document.
Step 9 — Tools that save you time
- Templates — save a recurring document as a template and send it again in one click.
- Contacts — auto-filled from every document you send; type a name and the email fills in itself.
- Folders — organize documents by client or project.
- Content library — saved blocks to reuse across signing pages.
Step 10 — For the tech-savvy: connect to Claude (MCP) and the API
Under Developers you can:
- Connect okdoc to Claude via MCP — then simply ask Claude "create a quote for X and send me the link" and it does everything through your account.
- Use the API and Webhooks to connect from Make/Zapier or your own code.
Frequently asked questions
Is it legally valid? Yes — every document is signed digitally with a full audit trail (timestamps, IP, verification), and a tamper-proof copy is kept.
Does the client need to download an app? No. They get an email, click the link, and sign from the browser — mobile included.
How many documents can I send? Depends on your plan. With the `LAUNCH30` coupon you get the full plan free for 30 days.
Hebrew, English, Arabic? Yes — the system and documents support multiple languages.
Summary — 3 steps to get started
1. Sign up at okdocai.com and enter coupon `LAUNCH30`. 2. Create a document — upload a PDF, or let the AI write it. 3. Send for signature — and your client signs (and pays) on the same screen.
That's it. Welcome to okdoc — smart, AI-native digital signatures for businesses. Need help or missing something? We're here. 🚀